
I read on a few sites that you can either use a canvas stretching frame or particle board. Because I live in the city and it would be hard for me to transfer particle board, I decided to head to the craft store (Lee's art shop) and buy a canvas stretching frame. This was easy to put together and was light enough that I could carry in one hand. I also bought quilt batting to wrap around the frame - the more the better in my opinion.

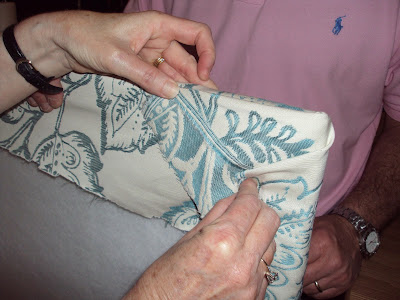
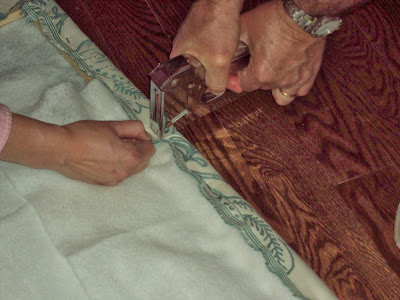
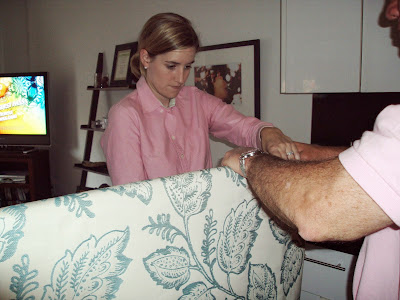
 Once the batting was stapled on all four sides, we then laid the fabric over to see how much we would need and that is was straight. Make sure to iron the fabric before you staple it on your frame. It only takes a minute and it makes a huge difference. Next, we pulled and stapled the fabric around the frame (remember to pull as hard as you can so it doesn't bunch together (note: this is a bit hard, so you may need a strong hand or two) when you're doing the corners, think of it as wrapping a present.
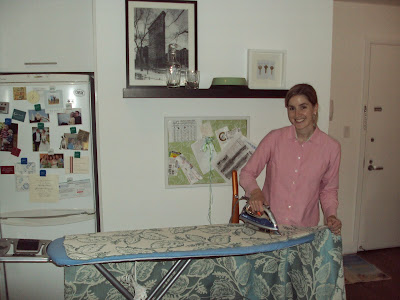
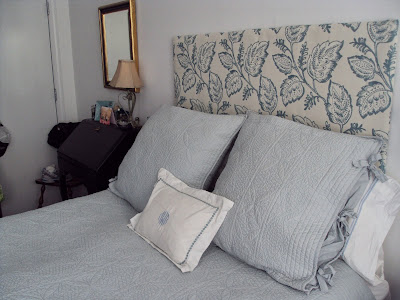
 The last step was to hang the headboard. We decided hanging it like a frame would be the easiest way. We nailed two nails to the wall and voila - a headboard was born. The whole process took us about an hour and a half and the cost was very minimal. A big thanks to Sooze and Rick for their help!
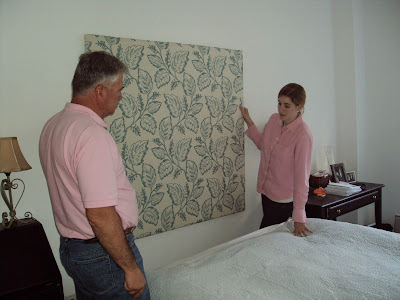
As far as other materials that you'll need, they include: staple gun, fabric scissors and of course the fabric.
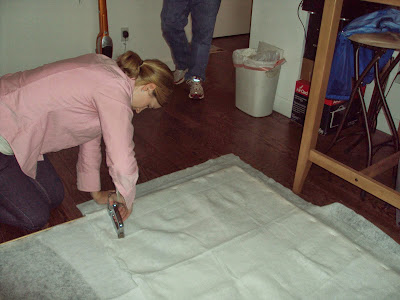
First, we laid the frame down and the fabric over it to determine which side we wanted to be the top. Next, we laid the batting over the frame and stretched it all the way across, making sure we had enough to staple on each side. We used about five bags of batting for the project.
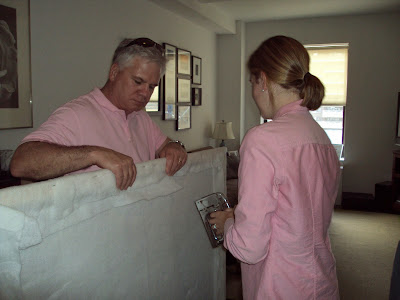
Once the batting was stapled on all four sides, we then laid the fabric over to see how much we would need and that is was straight. Make sure to iron the fabric before you staple it on your frame. It only takes a minute and it makes a huge difference. Next, we pulled and stapled the fabric around the frame (remember to pull as hard as you can so it doesn't bunch together (note: this is a bit hard, so you may need a strong hand or two) when you're doing the corners, think of it as wrapping a present. The last step was to hang the headboard. We decided hanging it like a frame would be the easiest way. We nailed two nails to the wall and voila - a headboard was born. The whole process took us about an hour and a half and the cost was very minimal. A big thanks to Sooze and Rick for their help! Check out the finished project below: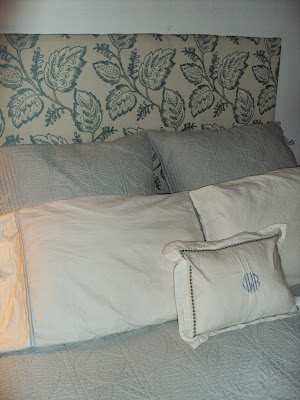
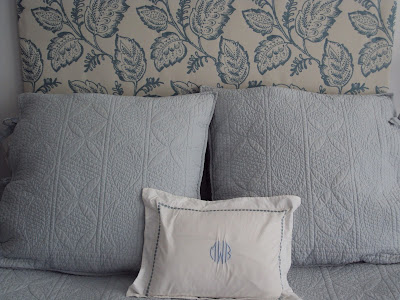
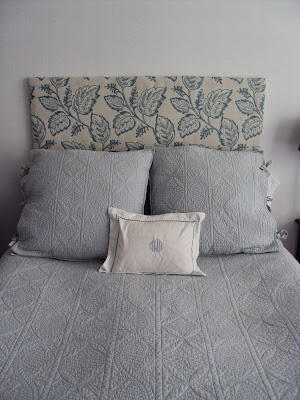


Beautiful~
ReplyDelete